Planning a bathroom upgrade often starts with one big question: should you replace that old tub with a sleek, modern walk-in shower? For homeowners across Plymouth, the answer is increasingly yes. Walk-in showers bring a fresh, open feel to any bathroom, improve daily comfort, and add genuine long-term value to your home. But here’s the thing , a successful installation isn’t just about picking a pretty design. It’s about planning, measurements, materials, plumbing, waterproofing, and getting every small detail right from the beginning.
That’s where Marathon Bath Systems comes in. With years of hands-on experience helping local homeowners create stunning, functional bathrooms, the team understands what works in older Plymouth homes and what doesn’t. Whether you’re upgrading a tight master bath or reimagining a guest washroom, the tips below will help you avoid costly mistakes and end up with a shower space you actually love walking into every morning.
Why Walk-In Showers Are Becoming the Go-To Choice in Plymouth Homes
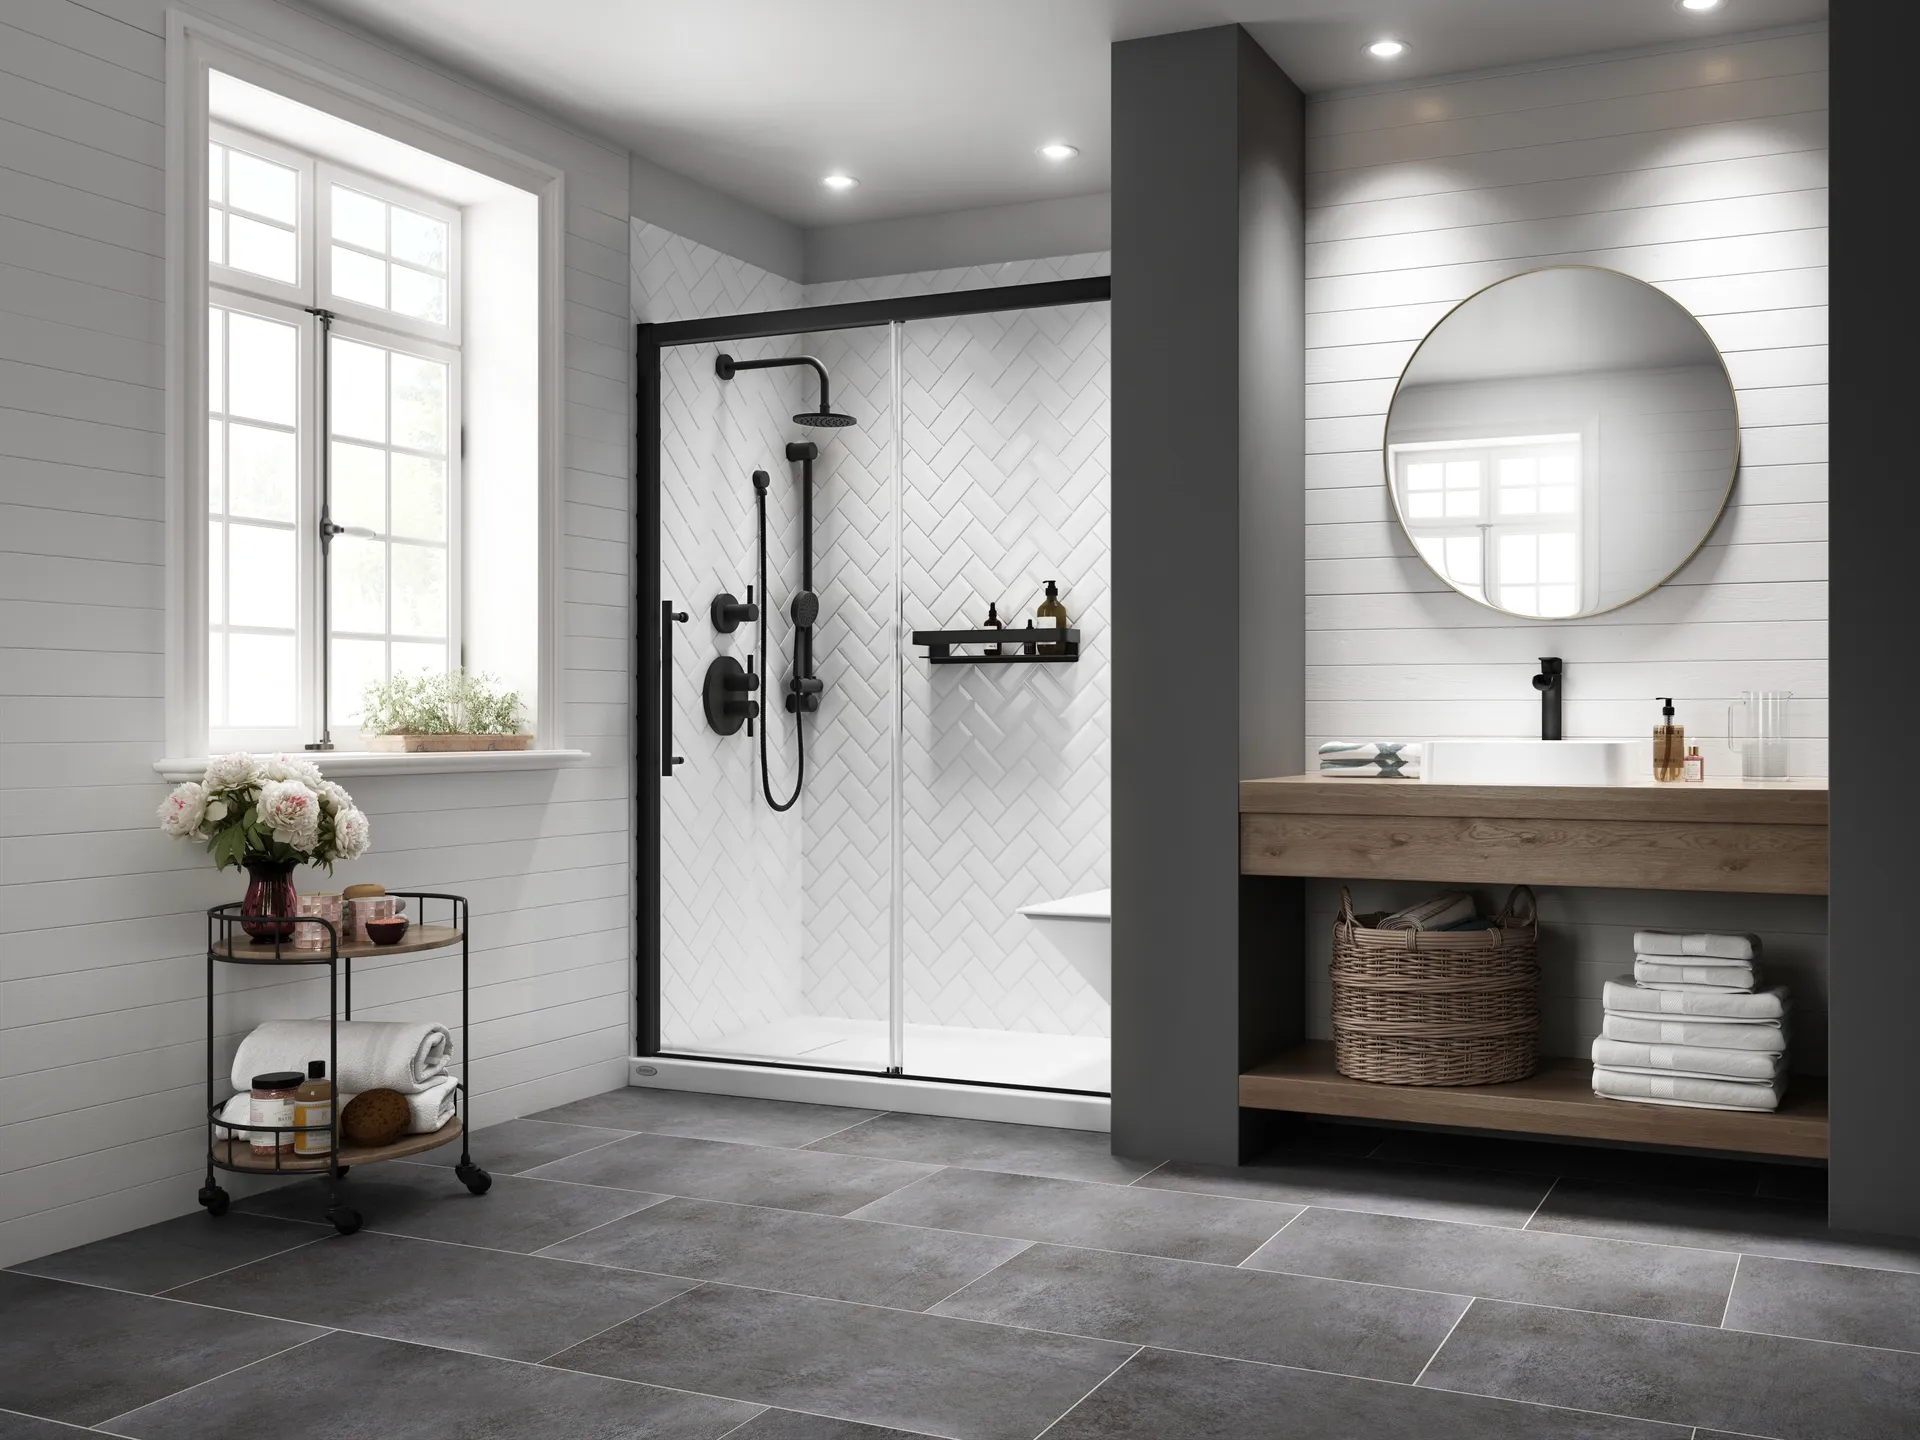
Bathroom design trends shift constantly, but walk-in showers have steadily moved from “luxury” to “must-have.” There’s a good reason for that. They open up the room visually, make cleaning easier, and remove the awkward step-over that tubs demand. Older homeowners appreciate the safety benefit, younger families love the spa-like atmosphere, and everyone enjoys the way a frameless glass enclosure makes even a small bathroom feel twice as large.
When considering professional Walk-In Shower Installation services in Plymouth, MI, you’re not just buying a fixture. You’re investing in daily comfort, accessibility, and a home feature buyers actively look for. In Michigan winters, stepping into a warm, well-designed shower with proper drainage and ventilation is something you’ll appreciate every single day.
Planning Before You Pick Up a Single Tile
Most installation problems trace back to one thing: rushed planning. Before any demolition begins, you need a clear picture of how the new shower will fit into the existing space, plumbing layout, and overall bathroom flow.
Start by measuring carefully. A walk-in shower needs enough room for comfortable movement, ideally at least 36 by 36 inches at minimum, though most homeowners prefer larger. Think about door swing, vanity clearance, and where the toilet sits. Sketch the layout or use a basic design app before committing to anything permanent.
Next, look at your plumbing. Moving drain lines is possible, but it adds cost and complexity. If your existing drain is already well-placed, designing around it saves money. Same goes for water supply lines , keeping the showerhead on the same wall as the original tub fixtures usually keeps the project simpler.
Choosing the Right Materials That Last
Material choice affects everything: appearance, maintenance, durability, and budget. This is where many homeowners make decisions they later regret, so take your time here.
For shower walls, you have several solid options. Acrylic panels are easy to clean, seamless, and resist mold beautifully. Porcelain tile offers a high-end look but requires more grout maintenance over time. Natural stone is gorgeous but porous and needs regular sealing. Acrylic remains a favorite for busy households because it simply doesn’t demand much upkeep.
For the floor, slip resistance matters more than aesthetics. Textured tile, small mosaic pieces with plenty of grout lines, or specially designed acrylic shower bases all provide good traction. Smooth, glossy tiles might look stunning in photos, but they become slippery the moment they get wet.
Glass enclosures should be tempered, ideally 3/8 inch thick or more for frameless designs. Cheaper glass tends to look thin and rattles when doors close.
Waterproofing: The Step You Cannot Skip
If there’s one part of any walk-in shower project that absolutely cannot be cut short, it’s waterproofing. A beautiful shower with poor waterproofing turns into a nightmare within a year , mold behind walls, rotting subfloors, and damaged ceilings below.
Proper waterproofing involves a complete moisture barrier behind the wall finish. This means waterproof backer board, sealed seams, a waterproof membrane applied correctly, and properly sloped flooring toward the drain. The slope should be subtle but consistent, around a quarter-inch per foot, so water never pools.
Don’t trust this stage to guesswork. Experienced installers know exactly which products work in Michigan’s humidity and temperature swings, and they understand how older Plymouth homes settle over time. Cutting corners here always costs more later.
Drainage and Ventilation Done Right
Drainage seems simple until it isn’t. A walk-in shower drains far more water than a standard tub-shower combo, and the drain itself needs to handle that flow without backing up. Linear drains have become popular because they allow single-slope floors and create a more modern look, but center drains still work perfectly well in standard layouts.
Whatever style you choose, the drain must be sized appropriately and connected to properly vented plumbing. Improper venting causes slow drainage, gurgling sounds, and even sewer gas issues , none of which you want in your dream bathroom.
Ventilation matters just as much. A good exhaust fan rated for your bathroom’s square footage pulls moisture out before it settles into walls, ceilings, and grout. Run it during the shower and for at least 20 minutes afterward. Skipping this step leads to mildew problems no amount of cleaning will fix.
Lighting and Layout That Make a Difference
A common mistake is treating lighting as an afterthought. The right lighting transforms a walk-in shower from purely functional to genuinely enjoyable. Recessed waterproof LED fixtures inside the shower area create a clean, modern feel. Combine that with good ambient lighting in the rest of the bathroom and you’ve got a space that looks polished day or night.
Layout-wise, think about where you’ll place the showerhead, controls, and niches. Controls should be reachable before you step under the water , nothing worse than getting blasted with cold water while reaching for the handle. Built-in niches keep shampoo and soap organized without cluttering the floor. Place them at comfortable heights, away from the direct spray.
Considering Accessibility for the Long Term
Even if accessibility isn’t a current concern, designing with it in mind protects your investment. Curbless or low-threshold entries look modern and serve every age group. Grab bars don’t have to look clinical anymore , many styles double as towel holders and blend seamlessly with the décor.
Bench seating is another smart addition. It’s useful for shaving, relaxing, or simply having a place to set things down. A well-built tile or solid surface bench feels luxurious and adds practical value.
Homeowners exploring small bathroom remodel services in Garden City, MI often request these accessibility-forward designs too, and they’re equally relevant for Plymouth bathrooms where space efficiency really matters.
Common Mistakes Plymouth Homeowners Should Avoid
Even with the best intentions, a few mistakes pop up again and again on DIY walk-in shower projects. Knowing them ahead of time saves stress later.
The first is underestimating the project’s complexity. Tearing out a tub, rerouting plumbing, waterproofing properly, and installing tile or panels professionally takes skill and the right tools. Most homeowners who attempt this themselves end up calling in professionals halfway through.
The second is choosing trendy over timeless. Bold colors and dramatic patterns look great today but feel dated quickly. Neutral tones, classic finishes, and clean lines age much better and appeal more to future buyers.
The third is forgetting about resale value. A walk-in shower is a strong selling feature, but only if it’s done well. Poor workmanship, cheap materials, or awkward layouts can actually hurt your home’s value rather than help it.
Working With the Right Installation Team
Hiring matters. Anyone with a tile saw can call themselves an installer, but quality walk-in shower work demands experience with plumbing, waterproofing, framing, and finish work all at once. Ask about warranties, look at past projects, read reviews from actual local homeowners, and make sure permits are pulled where required.
A trusted local team brings something else valuable: familiarity with Plymouth’s housing stock. Many homes here have specific quirks , older floor joists, particular plumbing layouts, certain foundation types , and experienced installers know how to handle them without surprises.
Budgeting Smart Without Cutting Corners
Walk-in shower costs vary widely based on size, materials, and complexity. A straightforward acrylic conversion runs lower, while custom tile work with frameless glass and premium fixtures climbs higher. Setting a realistic budget upfront , and including a 10-15% buffer for unexpected issues , keeps the project on track.
Skip the temptation to save on the things that matter most: waterproofing, plumbing work, and the installer’s labor. Save instead on optional luxuries you can always add later, like upgraded fixtures or specialty lighting.
FAQs
How long does a walk-in shower installation typically take?
Most installations are completed within one to two weeks, depending on the scope. Acrylic systems can sometimes be finished in a few days, while custom tile work with extensive plumbing changes takes longer. Weather, material availability, and inspection scheduling can also affect the timeline.
Can I convert my existing tub into a walk-in shower without major renovation?
In many cases, yes. Tub-to-shower conversions are one of the most common bathroom upgrades, and the existing plumbing footprint often works well. The complexity depends on your current layout, the condition of the surrounding walls, and what materials you choose for the new shower.
Will a walk-in shower work in a small Plymouth bathroom?
Absolutely. Walk-in showers can actually make small bathrooms feel larger because they open up sightlines and remove the bulky tub footprint. With smart design choices like clear glass, light tile, and a curbless entry, even a compact space can feel surprisingly roomy.
How do I prevent mold and mildew in my new walk-in shower?
Proper ventilation is the biggest factor. Use an exhaust fan during and after every shower, squeegee water off glass and walls when possible, and choose materials that resist moisture. Sealing grout regularly and addressing any small leaks immediately also keeps mold at bay.
Does a walk-in shower add value to my home?
Yes, especially in markets like Plymouth where buyers expect modern, updated bathrooms. A well-designed walk-in shower with quality materials and clean installation is a strong selling point and often pays back a significant portion of its cost at resale.
Wrapping It All Up
A walk-in shower isn’t just a bathroom feature , it’s an everyday upgrade you’ll appreciate for years. Done right, it makes mornings easier, evenings more relaxing, and your home noticeably more appealing. Done wrong, it becomes a source of constant headaches. The difference comes down to careful planning, smart material choices, proper waterproofing, and skilled installation.
Take your time with the design, ask questions, and lean on professionals who genuinely know what they’re doing. Plymouth homes deserve bathrooms that match their character and serve their owners well. With the right approach, your walk-in shower project can transform not just one room, but the way your whole home feels.